The NuGet package is a single ZIP file with the .nupkg extension that contains compiled code (DLLs), other files related to that code, and a descriptive manifest that includes information like the package’s version number, dependencies etc. It is a Microsoft-supported mechanism for sharing code, which defines how packages for .NET are created, hosted, and consumed, and provides the tools for each of those roles.
🤔 Let’s define the problem statement
- I have a common class library .NET Core project that needs to be used across my organization in different projects.
- My organization stores our private packages in the Private NuGet Server.
- I want to publish my common library to the Private NuGet Server Azure Artifacts feed so that other teams can use this library in their project.
- I want my package to be versioned for continuous development.
👨🎨 Let’s discuss the DeltaX nuget architecture
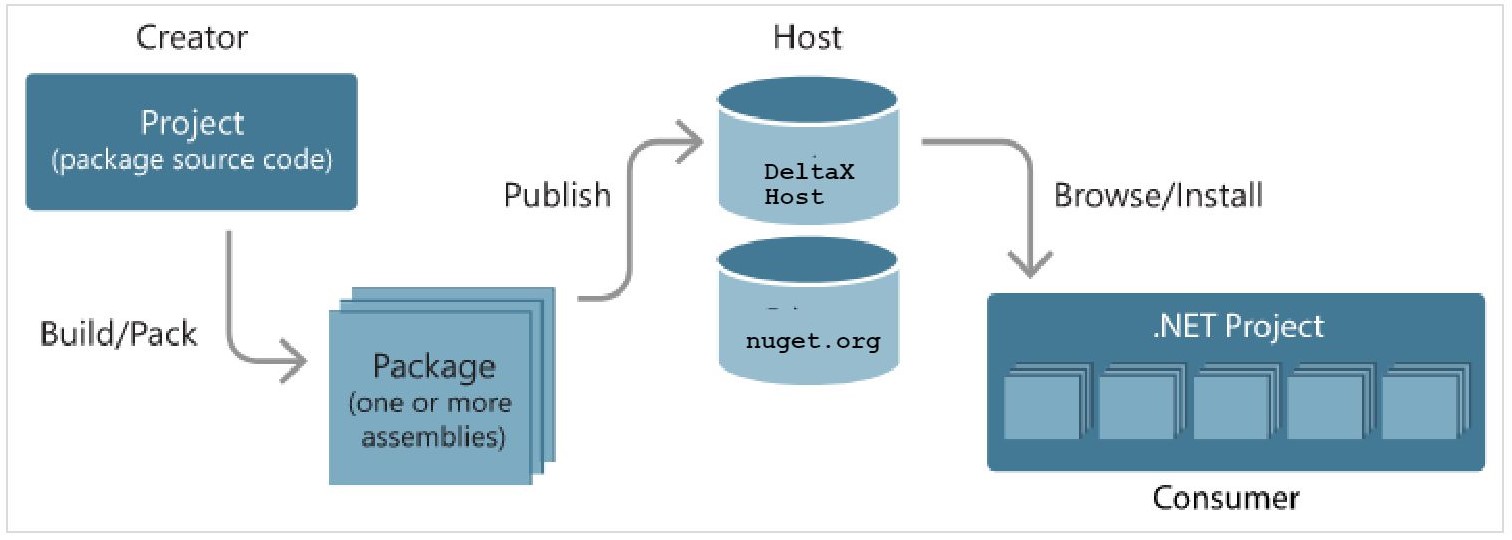
DeltaX Artifacts is a self-hosted private NuGet server for our internal organization to share and maintain various .Net Core packages.
The above diagram is the illustration of DeltaX NuGet architecture for managing various common packages, used across our organization in different projects.
🧑💻 Let’s create a class library and publish
We’ll be creating a HelloWorld Class library, which will contain a method to write greeting text on the console. We’ll be using .NET Core 3.1 and Visual Studio for the same, also will set up the NuGet config in the .csproj file along the way.
📦 Step 1: Crete HelloWorld Class Library
I am skipping over this step as this is just the basic creation of your project. Let’s assume that we have created a solution called DeltaX.HelloWorld with a class library project. Now we have a class library that contains a Class1.cs by default, but we don’t need it so delete it and add a class HelloWorld and a method name Greet, which accepts the name as a pram and print Hello {name}, welcome to NuGet blog.. You can also add other packages and dependencies if you need.
namespace DeltaX.HelloWorld
{
    using System;

    public class HelloWorld
    {
        public void Greet(string name)
        {
            var str = $"Hello {name}, welcome to nuGet blog.";
            Console.WriteLine(str);
        }
    }
}
⚙️ Step 2: Configure the HelloWorld.csproj file
To open the HelloWorld.csproj file double click on click on the project name inside the Solution Explorer or you can directly open the file by navigating the project location and opening the file in any editor, then add the following attributes.
TargetFramework: The .Net target version, you can mention more than one target version by usingTargetFrameworksinstead.PackageId: The id for the package, which will also appear on browse, It should be Unique.Authors: List of authors.Company: Organization Name.Description: The Project description.RepositoryUrl: The Url of the remote git repository or any other service provider.RepositoryType: The type of repository.PackageProjectUrl: The Project Url if hosted.PackageTags: Tag for this package, help to search fast.Version: The library version.AssemblyVersion: The assembly version.PackageReleaseNotes: Note for this release.-
GeneratePackageOnBuild: Set it to true, it will tell Visual Studio to generate the.nuspecfile on the build so that we don’t have to create it manually which is required to push the package on the NuGet server.<Project Sdk="Microsoft.NET.Sdk"> <PropertyGroup> <TargetFrameworks>net452;netcoreapp3.1</TargetFrameworks> <PackageId>DeltaX.HelloWord</PackageId> <Authors>Sonu Kumar</Authors> <Company>DeltaX</Company> <Description>This is DeltaX.HelloWorld demo Nuget Package. </Description> <RepositoryUrl>https://bitbucket.org/deltaxadcloud/deltax.helloword</RepositoryUrl> <RepositoryType>git</RepositoryType> <PackageTags>NuGet, HelloWorld</PackageTags> <PackageProjectUrl>https://bitbucket.org/deltaxadcloud/deltax.helloword/readme.md</PackageProjectUrl> <Version>1.0.1</Version> <AssemblyVersion>1.0.1</AssemblyVersion> <PackageReleaseNotes>* Initial Release.</PackageReleaseNotes> <GeneratePackageOnBuild>true</GeneratePackageOnBuild> </PropertyGroup> </Project>
Please note that Company, RepositoryUrl, RepositoryType, PackageProjectUrl are optional attributes.
Now our package is ready for testing, but we can’t run/debug a class library directly, we so need a console application for testing as well as continuous development.
🛠️ Step 3: Create a Console Application and restructure the folder
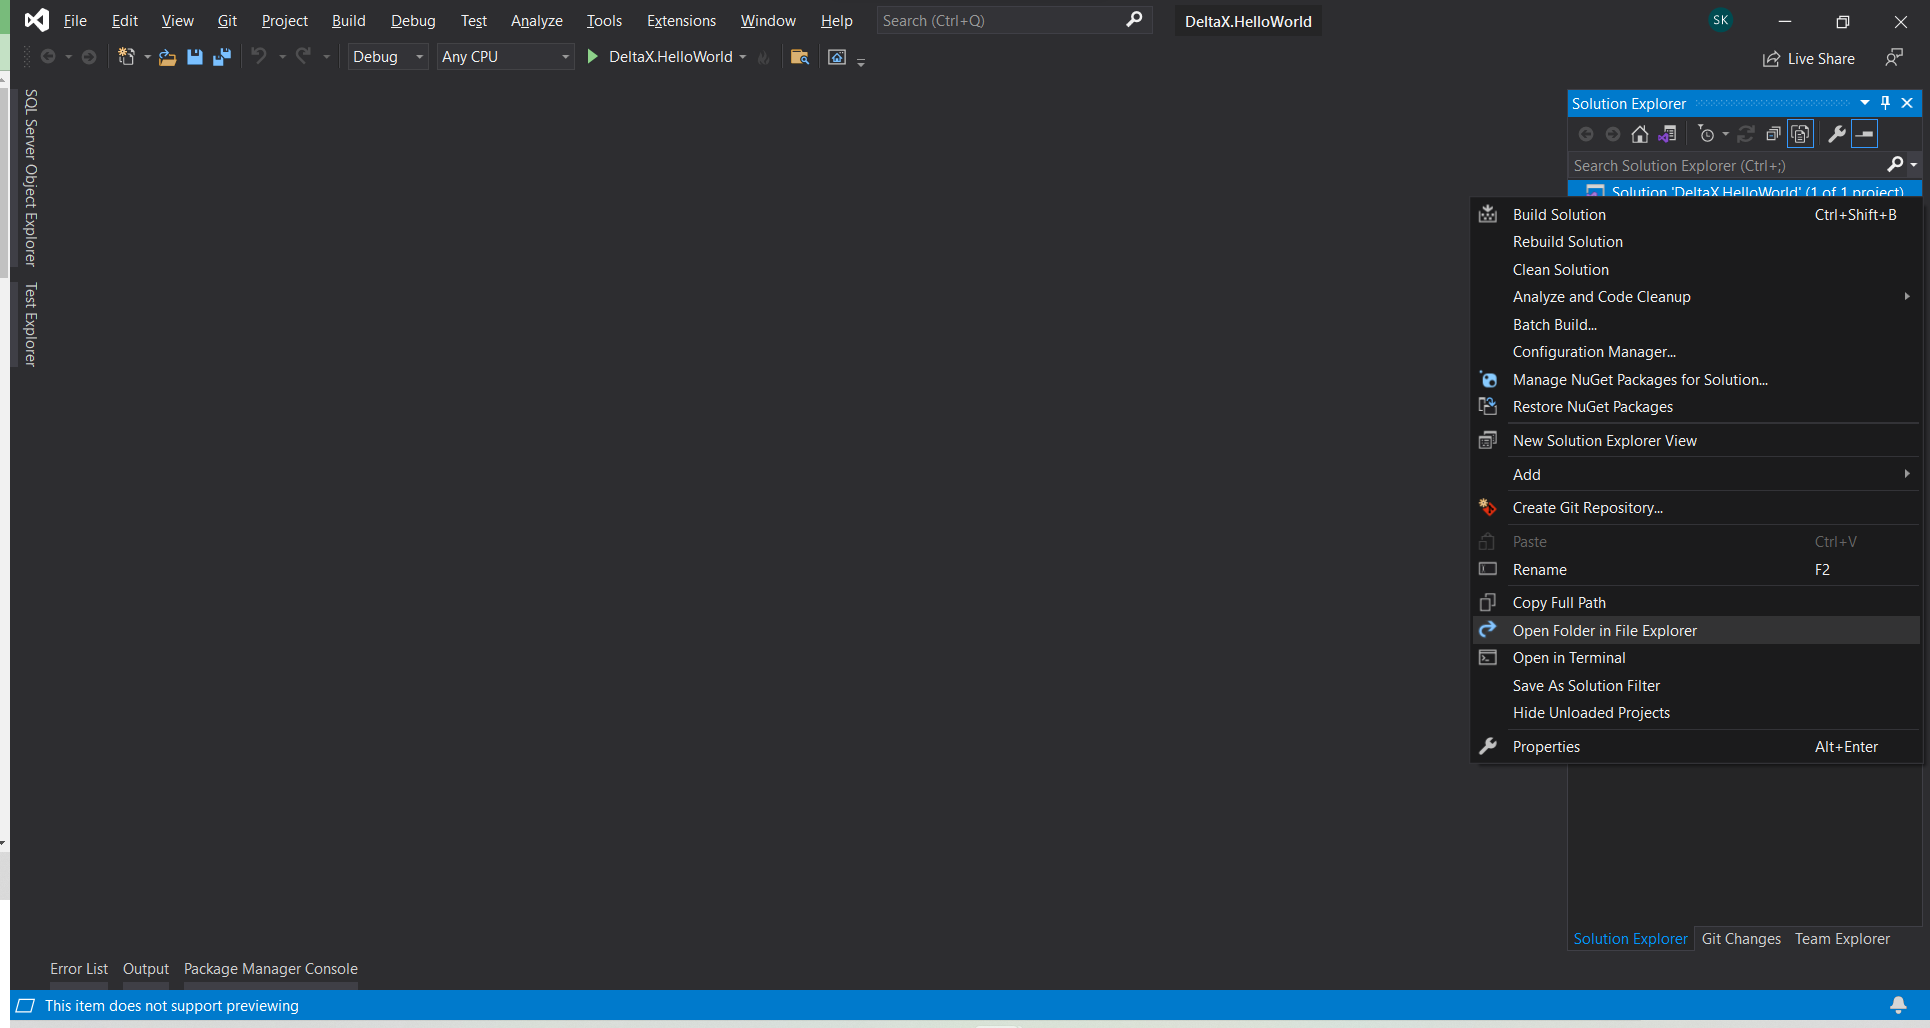
- Open the file explorer with the same location of the solution, or right-click on the solution in vs and select `Open folder in file explorer.
- Create a folder
srcand move theDeltaX.HelloWorldfolder only not the DeltaX.HelloWorld.sln. - Double click on DeltaX.HelloWorld.sln and you’ll find it’s broken because we have moved the project inside the
srcfolder so we need to fix it. To fix it right click on theDeltaX.HelloWorldproject under the solution in Solution Explorer where it’s showing the errorNot foundandremovethe project then right click on the Solution and add exiting project then select the project fromsrcfolder. - Now we have restructured our package so it’s time to create a SampleApplication.
- To create SampleApplication, right-click on Solution and Add a new
Console Applicationproject with the project nameSample Application, so creating a new project in the folder as well as Visual Studio has these items.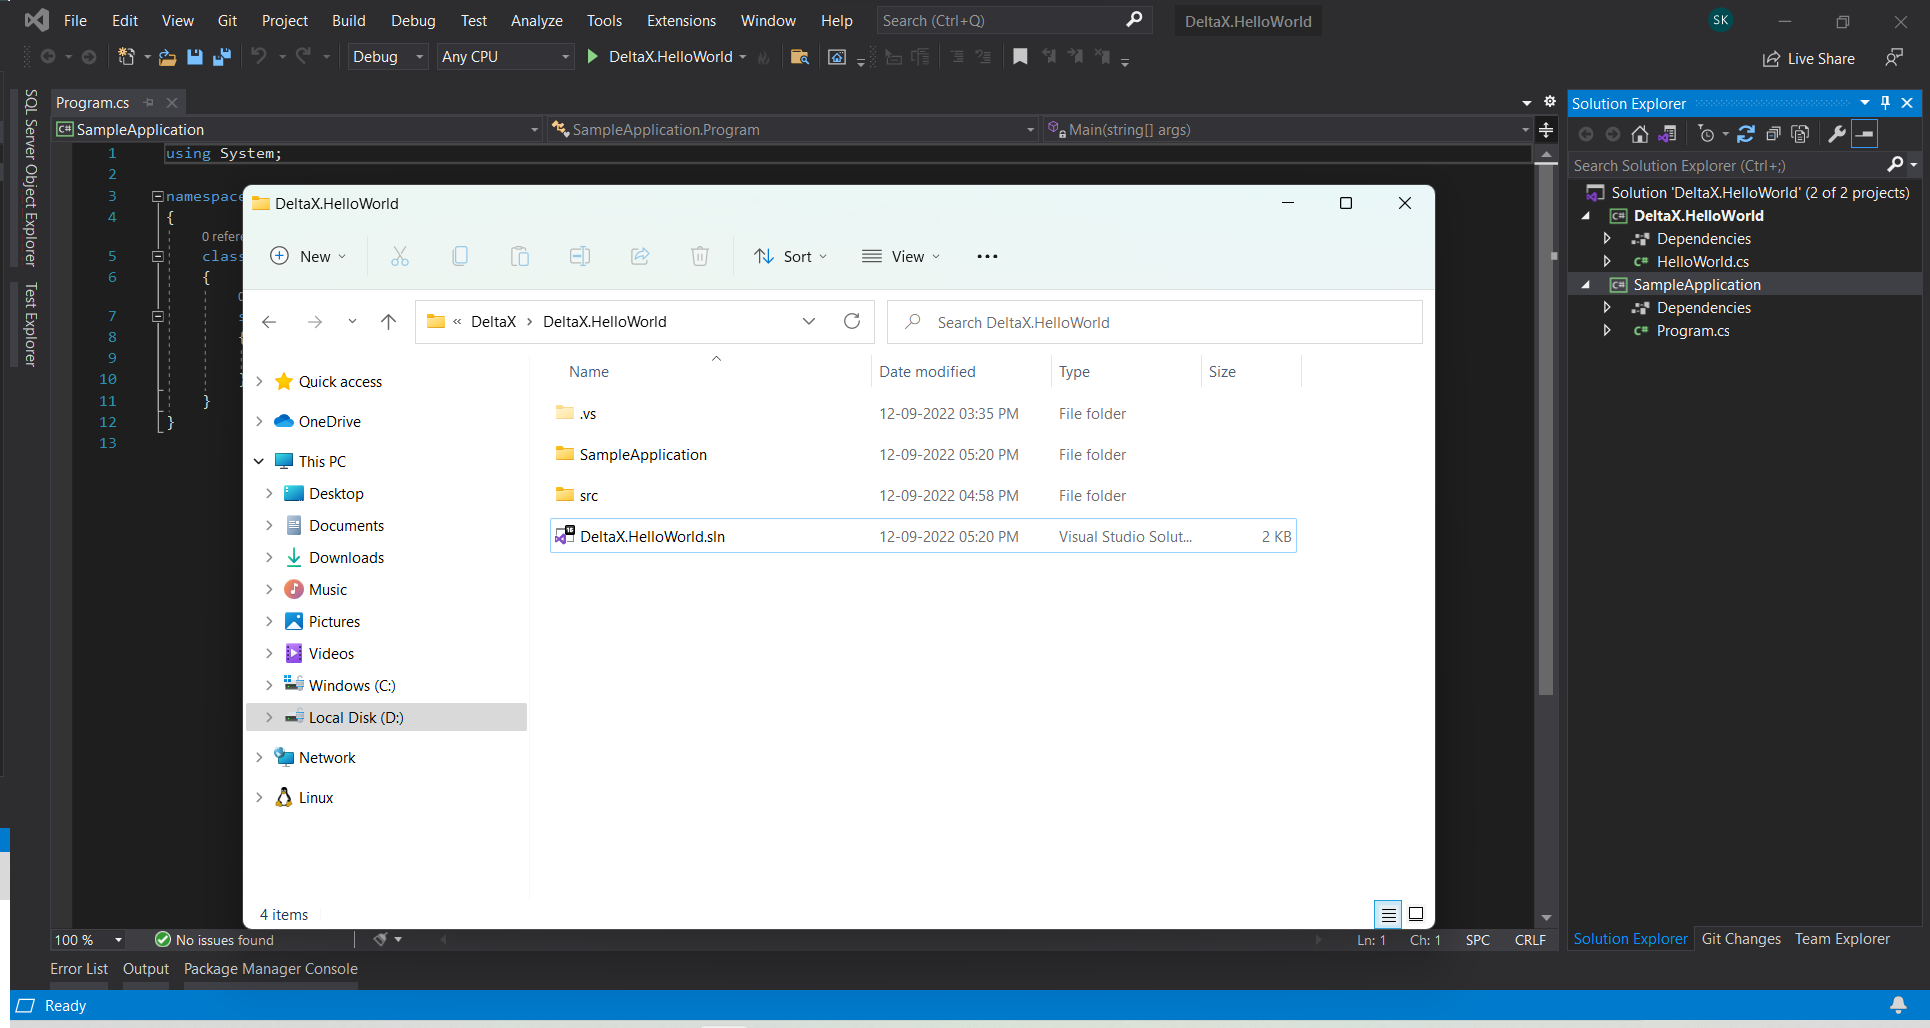
- Now add project reference of
src/DeltaX.HelloWordlibrary inSampleApplication. -
Now initiate the new instance
HelloWorldin the program.cs and call theGreetMethod, you may need to add using statement if not added by VS.namespace DeltaX.HelloWorld { using System; public class HelloWorld { public void Greet(string name) { var str = $"Hello {name}, welcome to nuGet blog."; Console.WriteLine(str); } } } - Verify the functanility and get ready to publish.
🎯 Step 4: Publish the package
Now we have a class library ready as well as we have tested our functionalities, so we’re ready for the publish. We’ll use Visual Studio Package Manager Console or Developer tool with the help of the NuGet.CommandLine tool, so first we need to install the NuGet.CommandLine package to our DeltaX.HelloWord project with the help of NuGet Package Manager. After successful Install, our final DeltaX.HelloWord.csproj` will look similar to this.
<Project Sdk="Microsoft.NET.Sdk">
  <PropertyGroup>
	<TargetFrameworks>net452;netcoreapp3.1</TargetFrameworks>
	<PackageId>DeltaX.HelloWord</PackageId>
	<Authors>Sonu Kumar</Authors>
	<Company>DeltaX</Company>
	<Description>This is DeltaX.HelloWorld demo Nuget Package. </Description>
	<RepositoryUrl>https://bitbucket.org/deltaxadcloud/deltax.helloword</RepositoryUrl>
	<RepositoryType>git</RepositoryType>
	<PackageTags>NuGet, HelloWorld</PackageTags>
	<PackageProjectUrl>https://bitbucket.org/deltaxadcloud/deltax.helloword/readme.md</PackageProjectUrl>
	<Version>1.0.1</Version>
	<AssemblyVersion>1.0.1</AssemblyVersion>
	<PackageReleaseNotes>* Initial Release.</PackageReleaseNotes>
	<GeneratePackageOnBuild>true</GeneratePackageOnBuild>
  </PropertyGroup>

  <ItemGroup>
    <PackageReference Include="NuGet.CommandLine" Version="6.2.1">
      <PrivateAssets>all</PrivateAssets>
      <IncludeAssets>runtime; build; native; contentfiles; analyzers; buildtransitive</IncludeAssets>
    </PackageReference>
  </ItemGroup>
</Project>
Now, we have installed the NuGet.CommandLine so we can access it through Package Manager Console or Window CMD/Powershell open in the same location, for confirmation just type nuget, it should show the NugGet description if not fix the error and continue.
Here I’m going to use Visual Studio Package Manager Console, type the below command to publish the package after replacing macros with actual values.
nuget push <Path> <ApiKey> -Source <your-awesome-host.com/nuget>
Here,
Path: The path is the physical path of the generated DLL’s, which you can find in the output of the console on the build, remembered we madeGeneratePackageOnBuildtrue in.csproj?
We will get the path like thisSuccessfully created package 'D:\DeltaX\DeltaX.HelloWorld\src\DeltaX.HelloWorld\bin\Debug\DeltaX.HelloWord.1.0.1.nupkg'ApiKey: You’ll get ApiKey while setting up the server, here you can ask Ketan J or Narendra M for the same.your-awesome-host.com: The URL of the hosted machine.
🏆 Step 5: Finished!
After the Success of the above command, your package will now be available in your DeltaX Artifacts feed. Tada!
Now you install search and install the same package with the mentioned package Id, here DeltaX.HelloWorld.
🤖 Package versioning for the continuous developement
We have seen how we can create and push a package to NuGet Server, isn’t that awesome? but there is a small problem what if we need some more features?
How we can integrate it with our continuous development?
The solution for the above is simple we’ll modify or add the feature we want and publish a newer version of the same package.
To push the newer version we need to update a few attributes of our .csproj file:
Version: It should be incremented based on the feature we added or modified.
eg: current version 1.0.0, and we have fixed a bug then we should increase the last minor version with 1 as 1.0.1. If we have added a new feature, we should second the last minor version with 1 as 1.1.0.
If we have modified or added a new flow then ideally we should increase the major version from 1, here v2.0.0.AssemblyVersion: It should be incremented based on the feature we added or modified exactly likeversion.PackageReleaseNotes: Description of new changes. After all the modifications, we’ll rebuild the project and copy thepathof the DLL’s file and run the push command inPackage Manager Consoleor `Window Cmd/PowerShell in the root directory.
nuget push <Path> <ApiKey> -Source <your-awesome-host.com/nuget>
💭 Closing Thoughts
- Whenever we worked on a third-party API integration or some commonly used repository, it is better to create a package and publish it.
- It will save us from repeating the same code at multiple places so easy to maintain.
- If we need a new feature or want to modify the existing one, we just need to add the required feature in the NuGet package and release the newer version, that’s all, no need to check all repositories and add/modify the feature there.
- Most importantly, NuGet maintains a reference list of packages used in a project and the ability to restore and update those packages from that list, so any package can switch as per requirements.